Pre-Authorizing a Credit Card
Running a pre-authorization in EPASS is used to verify the authenticity of the customer's credit card or to create a temporary hold for a specific amount. Amounts that are pre-authorized can later be captured and converted to a credit card payment.
Before Starting
You need to do the following before you can pre-authorize credit cards:
- Create a dedicated Payment Type for pre-authorizations.
- Grant the Add PreAuth security option to Users or Groups that need to pre-authorize credit cards.
How to Activate the Security Setting
-
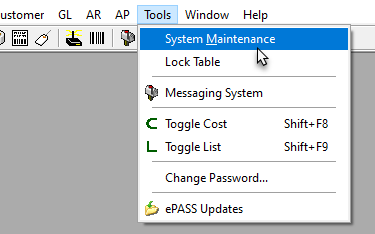
Go to Tools > System Maintenance.
-
On the Tables tab, select User Security, and then click Open.

-
Select a User or Group from the list, and then click Security.

-
In the Keyword search box, enter PreAuth. Select Invoice Detail - Add PreAuth Payment.

-
Click OK.
Pre-authorizing a Credit Card
For non-cash customers (the EPASS Pay Cash Customer checkbox is cleared on the customer account record), pre-authorizations require the cardholder's:
- Full name
- City
- State/Province
- ZIP/postal code
This information must be present in the customer account record or entered during a form keyed pre-authorization.
Steps
-
Go to the Details of the customer's invoice. Make sure that you are in Edit mode.
-
Click the Payment Tab.
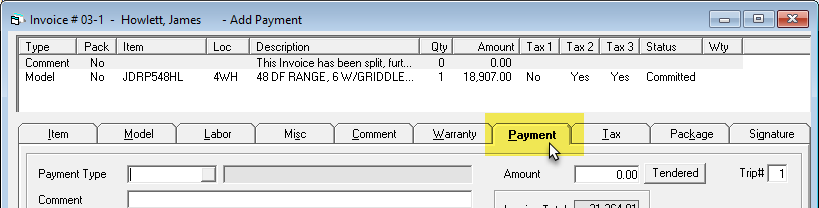
-
In the Payment Type dropdown, select your pre-authorization Payment Type.

-
Select the Entry Method from the dropdown.

-
Enter the Amount to pre-authorize. (This is only available if the pre-authorize payment type has been configured to allow authorization amounts. See Adding a Pre-Authorization Payment Type.)

-
Click OK. Once the pre-authorization is processed, the result appears in the Invoice Details.
Pre-authorizations can't be moved to a different invoice as a result of copying or splitting the invoice.
Capturing a Pre-Authorization Amount
Capturing a pre-authorization converts it to a credit card payment. You can capture the full amount that was pre-authorized or a partial amount.
The pre-authorization payment type must have the Allow Pre-Auth Amount & Capture setting active to allow payment captures. See Adding a Pre-Authorization Payment Type.
Steps
-
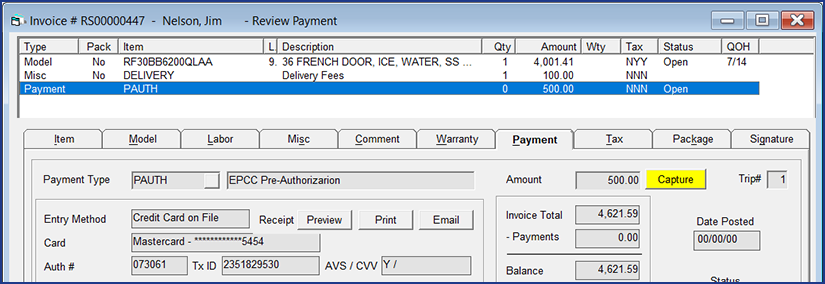
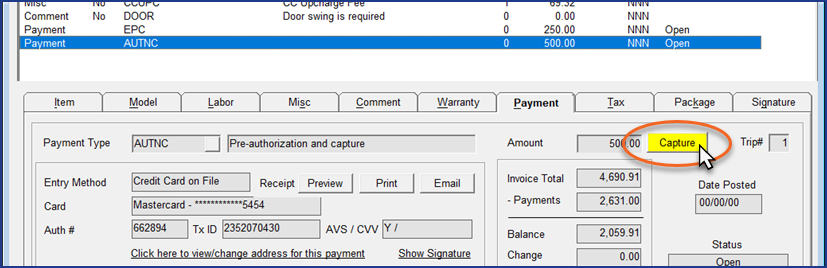
Select the pre-authorization line in Invoice Details.
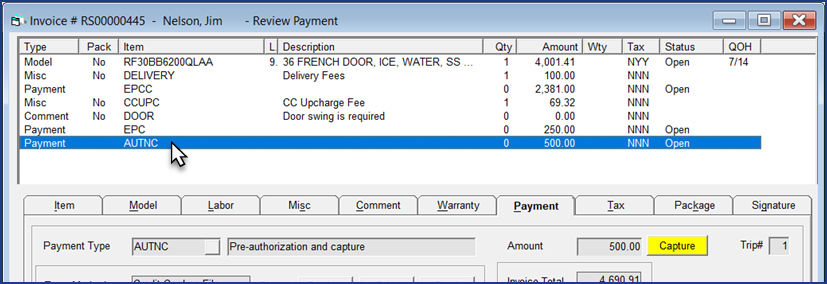
-
Click Capture.
-
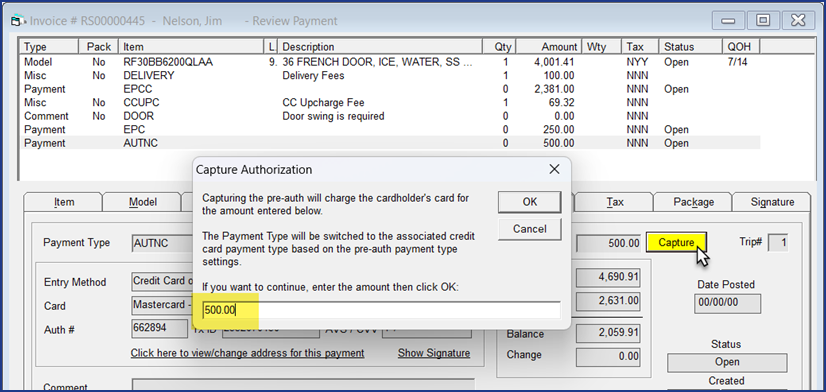
Enter the amount that you want to capture, and then click OK.
-
If you enter the full amount, the pre-authorization will immediately convert to a credit card payment using the credit card payment type that the pre-authorization is linked to. If applicable, EPASS applies any credit card upcharges.
-
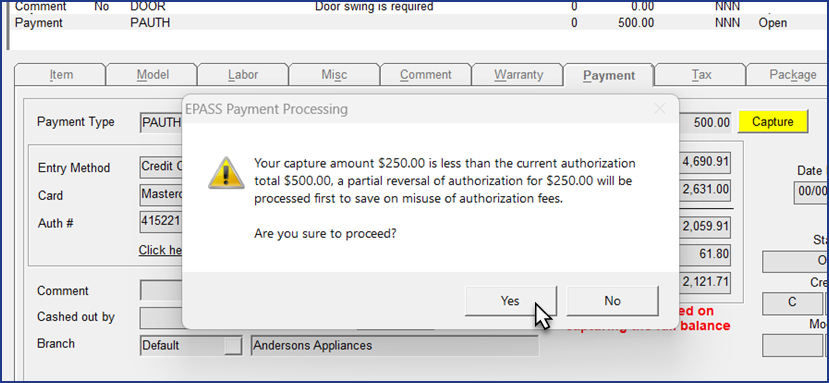
If you enter a partial payment, the remaining amount will be processed and reversed first before the partial amount is converted to a credit card payment. Click Yes at the prompt to confirm the partial capture.
-
Voiding a Pre-Authorization
Voiding an uncaptured pre-authorization removes it from the invoice and releases the hold on the customer's credit card.
-
A pre-authorization that has been captured is converted to a credit card transaction. Generally, you can only void a transaction on the same day it was processed and before it's included in your daily batch. However, transactions that are created from a partially-captured pre-authorization can't be voided, and must be refunded instead.
-
A pre-authorization for a "zero amount" ($0.00) can't be voided.
-
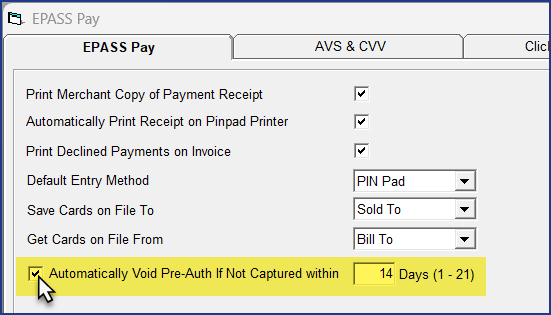
You can have EPASS automatically void uncaptured pre-authorizations after a specific amount of time has passed. Go to Tools > System Maintenance > Variables > EPASS Pay. On the EPASS Pay tab, select Automatically Void Pre-Auth If Not Captured and enter the number of days. If this setting is not enabled, you must either manually void any uncaptured pre-authorizations or allow them to expire according to the card issuer’s policy.
We recommend that you void pre-authorizations through EPASS only and not through Pulse. Transactions voided in Pulse are not reflected in EPASS and this may cause errors in your data and reporting.
Steps
-
Select the pre-authorization line in Invoice Details.
-
At the bottom of the Invoice Details window, click Void.

-
Click Yes to confirm.

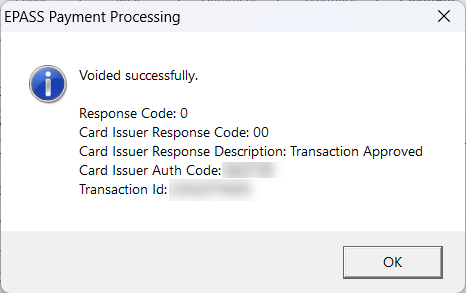
If the void is successful, a confirmation prompt appears and the pre-authorization is removed from the invoice and voided.
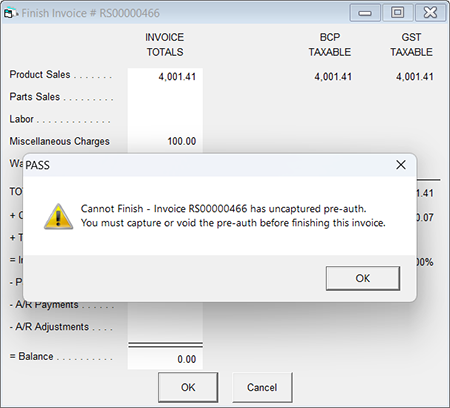
You need to void or capture pre-authorizations before an invoice can be finished.
See Also
- Taking a Credit or Debit Card Payment
- Adding EPASS Pay Payment Types
- Pulse Security Options
- Invoice Detail
June 16, 2026